Fill your Christmas Card Box - Pt 1
Each year I end up making some cards under pressure and at the very last moment to fulfil my card list. Although this year I have agreed with some more distant friends that we will send on-line cards I still like to send out hand made cards to closer friends. So I thought I would really get making and do a series on my blog of fairly easy cards to make that you might like to use for inspiration and I will give you the low down on what I have used as well as the process steps (or method) and as I was watching the great British bake off when I started it ended up being called the recipe Christmas card series.
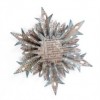
So here is my first sample
Each year I end up making some cards under pressure and at the very last moment to fulfil my card list. Although this year I have agreed with some more distant friends that we will send on-line cards I still like to send out hand made cards to closer friends. So I thought I would really get making and do a series on my blog of fairly easy cards to make that you might like to use for inspiration and I will give you the low down on what I have used as well as the process steps (or method) and as I was watching the great British bake off when I started it ended up being called the recipe Christmas card series.
So here is my first sample

Ingredients
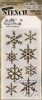
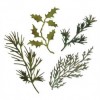
Stamp Sets
letter to santa, weathered winter, simple sayings
Distress Inks
cracked pistachio, mermaid lagoon, grand espresso
Distress Markers
faded jeans, pumice stone, stormy sky, bundled sage
Embellishing
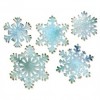
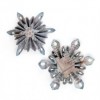
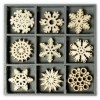
gold thread, gold pearls/gems, snowflake charm, gold treasure gold

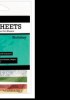
Method
Stamp text across the card.

Dip card in distress inks


Ink the edges of the card, add a gold pearl and gems, tie some gold thread around the card with a snowflake charm attached and add a sentiment.

I've made two of these as I was making them and have now got my box well and truly started.

After a very busy week and weekend I have been able to take stock and get myself into a couple of larger projects this week, they will end up on my blog at some point before Christmas.
Listen to your heART and thanks for stopping by.
hugs Brenda xxx