Showing posts with label distress oxides. Show all posts

Monday, 10 August 2026

Monochrome 1

 A project for Country View Crafts 

August Challenge Monochrome Part 1

Monochrome: A noun or description for an image, painting, or photograph that consists of a single base hue along with its various tones, tints, and shades. 

Monochromatic: Is the specific technique of building a color palette using only one base hue, modified by adding black (to create shades), white (to create tints), or grey (to create tones). For example, a "monochromatic blue" painting uses only light sky blues, deep navy blues, and everything in between.

Page 1 in my Creative Sketchbook that I have been using for my workshops.


For those people who have taken part in my workshops recently they will have created colour palettes for mixing paints, created palettes to show tints and shades of different colours, and made their own little swatch tabs for arty embellishments. 

I have also now created a grid  to record palettes of tints, tones and shades ....... 

..... and completed them using walnut stain distress paint as the main focus colour with Paperartsy, black, white and grey paints and here are some of the different variations of colours I made.

I took out these colours of distress inks, distress oxides and distress sprays - Antique Linen, Vintage Photo, Walnut Stain, Ground Espresso, and Scorched Timber to use as my monochromatic distress palette......

.... and made three small panels to produce monochrome projects. Later when laying out the elements on the page I decided to add another one.


I love experimenting with colours and products so decided I would use the monochromatic palettes, swatches and small designs to put together two pages in my Creative Sketchbook under the heading of Monochrome. You can see the finished page 1 above.

The long horizontal and wide stamped border at the bottom is good old fashioned parcel tape that you wet the back of and stick down.

Here are close ups of the elements used. I created the words myself.


Thanks for stopping by.

xxx

Supplies

Alison Bomber stamps - PaperArtsy ---  Fodder Berry Edition.EAB52, Pressed Grasses Edition EAB40,

Tim Holtz stamps - Flower Jar CMS297, Nature's Moments 001, Entomology CMS328, Field Notes CMS396, Lattice and Flourish CMS257, Bird Feather CMS180, 

Tim Holtz Distress Inks ---  Antique Linen, Vintage Photo, Walnut Stain, Ground Espresso, and Scorched Timber, Picket Fence

Tim Holtz Distress Oxides - Antique Linen, Vintage Photo, Walnut Stain, Ground Espresso, and Scorched Timber

Tim Holtz Distress Sprays - Antique Linen, Vintage Photo, Walnut Stain, Ground Espresso, and Scorched Timber

Tim Holtz - Idea-ology - Remnant Rubs, Photobooth, Found Relatives

Ranger Archival Ink - Coffee, distress vintage photo, distress ground espresso

Tim Holtz Stencils  - Mini Deco Floral set 60

Arden - Makers Series - Field Notes Meadow

Versafine Clair --- Pinecone

Tint,Tone and Shade panels - designed by me

Monday, 6 July 2026

Sun, Sea and Sand

 Summer Holidays for Country View Crafts 

July Challenge 1

Dip, drip and dry three separate layers of distress inks, 1, Old Paper. 2, Spiced Marmalade. 3 Crackling Campfire.


Take the blue distress oxide pads and rub them over the Sparkler Fade stencil, spritz with water and monoprint over the top of the hot colours and heat dry,

Lay down the Burst stencil and use Rusty Hinge to blend through the rays.

Add some extra dip and drips using Crackling Campfire at the bottom of the card to create more of a sandy look.

Stamp some second generation text with the grey permanent ink.

Stamp the Post Card at the top in black.

Use the grey to stamp the post mark only (rub off any ink that got onto the postage stamp.

Stamp the postage stamp itself using spiced marmalade onto a spare piece of card and cut out, overlay it onto the post mark.

Cut out the couple having fun on their holidays and adhere.

Diecut the words you want to use and also add.

Blend brown distress ink round the edges and mount the finished project onto the teal paper.

Thanks for stopping by

Brenda xxx


Supplies

Alison Bomber stamps - Poppy Edition EAB37 (Postcard). Pressed Foliage EAB39 (Postage stamp) https://www.countryviewcrafts.co.uk/alison-bomber-by-paperartsy-1731-c.asp

Sizzix Tim Holtz dies  - Vacation Words, (As far as I'm aware these are discontinued)  https://www.countryviewcrafts.co.uk/tim-holtz-by-sizzix-152-c.asp

Ranger - Core-dinations paper (discontinued)

Tim Holtz stencils, Burst, Sparkle Fade                                https://www.countryviewcrafts.co.uk/layering-stencils-523-c.asp

Idea-ology Tim Holtz Found Relatives (first edition)                https://www.countryviewcrafts.co.uk/idea-ology-102-c.asp

Distress Inks - Spiced Marmalade, Crackling Campfire, Old Paper, Rusty Hinge, Ground Espresso https://www.countryviewcrafts.co.uk/distress-ink--re-inkers-103-c.asp

Distress Oxide - Salvaged Patina, Mermaid Lagoon                              https://www.countryviewcrafts.co.uk/distress-oxide-ink--re-inkers-1049-c.asp  

Versafine Clair - Morning mist, Nocturne                                    https://www.countryviewcrafts.co.uk/versafine-clair-ink-pads-and-re-inkers-1311-c.asp


Sunday, 21 September 2025

- Autumn Poppy Field

 Alison Bomber stamps - Poppy and Grasses Editions

Welcome Fall CVC #2 September 

1. Start working on the bottom half of the card first.
2. Make watery puddles of antique linen and vintage photo, dip card and dry several times.
3. Using iced spruce and hickory smoke repeat the same process as above on the top half of the card.
4. In the background dip in a little bundle sage and dry.
5. Dab vintage photo, aged mahogany and gathered twigs closely together on a craft mat and spritz with water. Tap stamp into the colours and stamp onto the card and dry. Repeat to create a collection of poppy seed heads.
6. Use masking paper and stamp the poppy heads enough times to cover all the stamped images. When they are covered stamp grasses using different brown and green oxide inks. Dry.
7. Remove masks and use black and white drawing pens to emphasize shapes, outlines and details of the poppies.


xxx


Materials

Distress Oxides Antique Linen, Vintage Photo, Iced Spruce, Hickory Smoke, Aged Mahogany, Gathered Twigs, Peeled Paint,

Stamps - PaperArtsy - Alison Bomber EAB37 Poppy Edition, EAB40 Grasses Edition.

Permanent Black pen White Posca Pen, masking paper.


Saturday, 11 January 2025

Winter scene 1 for Country View Crafts - Tim Holtz die-cuts

 A Wintry Scene for Country View Crafts


Rachel has chosen Wintry Scenes for the January Challenge at Country View Crafts Challenges on FaceBook. I had great fun with two of the Tim Holtz dies to create the picture and with the distress watercolor pencils and some distress inks and spritz to get the depth and perspective.


Die cut 2 tree lines and glue them onto card stock overlapping a second part beneath the first layer.


Take the paints, using a brush with plenty of clean water, use the paints like watercolours to create a sky. With a small piece of sponge dab the colours over the trees to fill in any gaps on the overlap and to make it look like a cold, misty morning. Dry that and splatter white to create snowfall.


Using white card cut a slope of snow, using a paint brush apply texture paste lightly over it to make it look like snow laying on the ground. Splatter with chipped sapphire DI and adhere to the bottom of the card. 


Cut the birch trees from white card and give them a coat of white paint. 


Play with the DIs, DOs and watercolor pencils to make the birch trees more realistic and cut into them to create 3 individual ones.


Add some watery brown DI to some gaps between the trees, paint some spritz over the tops of the trees too and add more sponged white paint to keep the look of snow. Dry.


 ..... and then glue the birch trees on the panel.
Finish by using a stick to paint in some dried grasses.


One wintry scene complete.
Ink the edges, add a sentiment and make it into a card.


Supplies

Tim Holtz - Sizzix - Tree Line, Branched Birch

Tim Holtz - Ranger - DOs Lost Shadow, Vintage Photo, DIs Walnut Stain, Chipped Sapphire

Tim Holtz - Ranger - Distress Watercolor Pencils - Black Soot, Gathered Twigs, Scorched Timber, Chipped Sapphire, Lost Shadow

Tim Holtz - Ranger - Distress Spritz - Uncharted Mariner

Tim Holtz - Ranger - Distress Texture Paste

PaperArtsy Fresco Finish Paints - Midnight, Snowflake, Beach Hut, Elephant


Friday, 4 October 2024

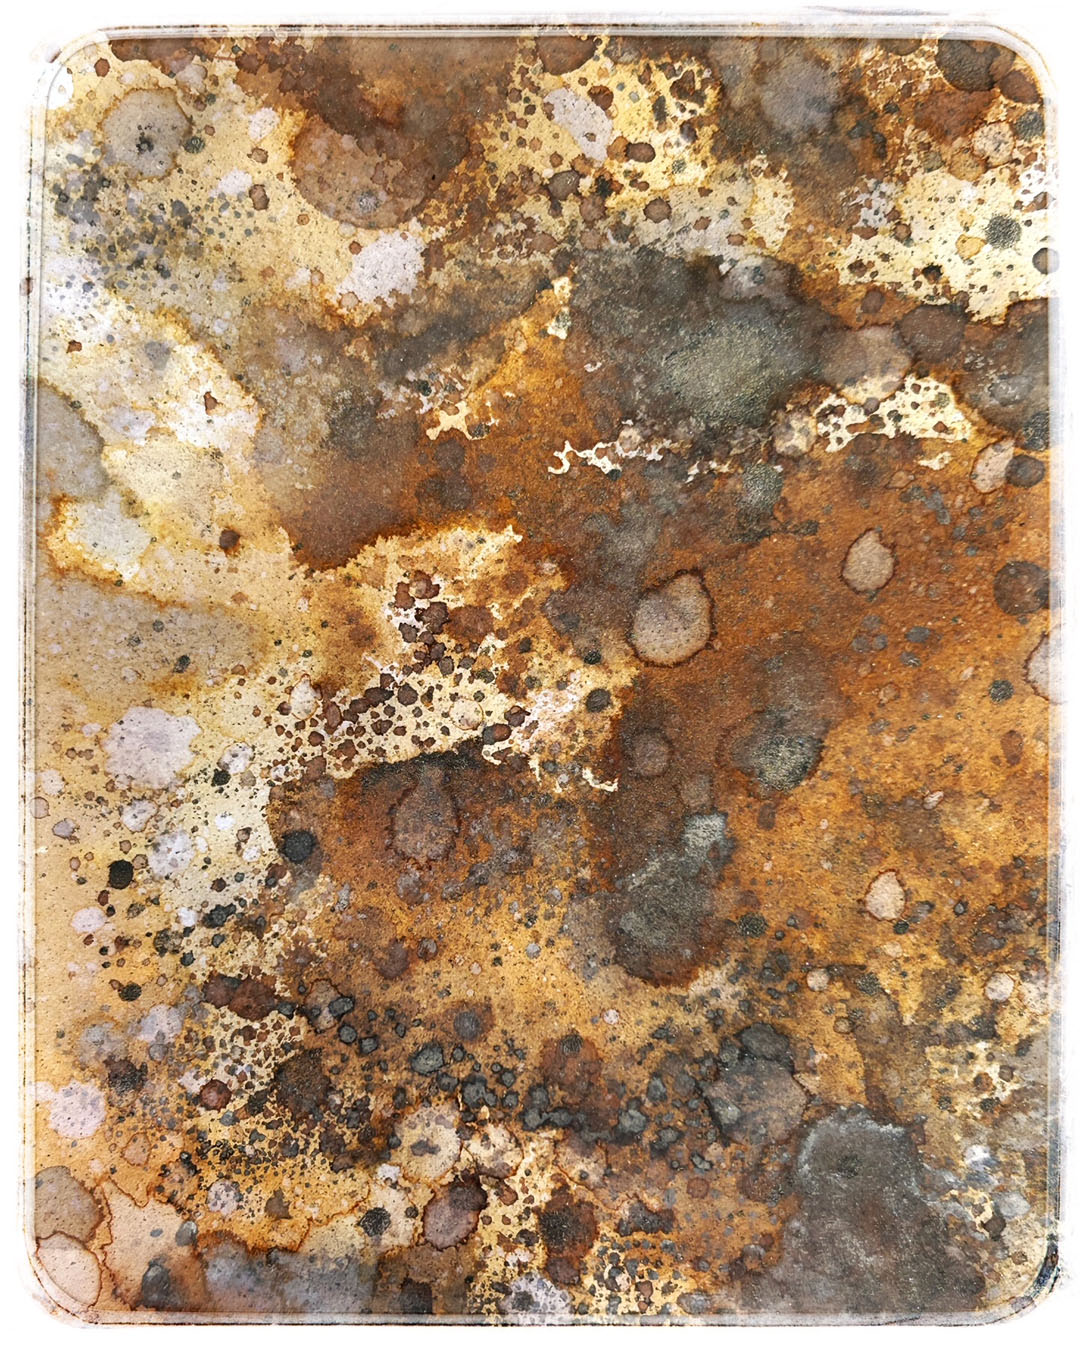
Rust inspired D'Oxides

 I love playing with inks and colours to produce different layers of for distressed backgrounds. As it's Halloween month I thought I would try out rust effects with distress oxides to see what happened. I love the result.

On A4 card. Used scorched timber, walnut stain, vintage photo, hickory smoke D'oxides, splattered and dipped into walnut stain Spritz then mixed left over spritz to vintage photo DO and water and dipped into it. Did another puddle of vintage photo and water and dipped into it some more. Finally spritzed water droplets and dried.

Cut card into 3 pieces.....

.... and got a gorgeous layered dipped, drippy, distressed effect.


I make very few projects for Halloween usually and I've already got my Country View Challenge ones made and scheduled so I think I'll chop these three pieces in half again and aim to create 6 small 10.4 x 9.7 cm panels.

xxx