One of a kind
Following on from the tutorial I did using the distress microglaze recently (see it Here if you missed it) I finished off the second tag and have put the details over on the Country View Crafts Project Blog.
This is just a sneak peek to whet your appetite and I hope you can join me at CVC to see more.

UPDATED FROM CVC PROJECT BLOG
Following on from the tutorial I did using the distress microglaze recently (see it Here if you missed it) I finished off the second tag and have put the details over on the Country View Crafts Project Blog.
This is just a sneak peek to whet your appetite and I hope you can join me at CVC to see more.
Thanks for stopping by and have a great week.
hugs Brenda xxx
UPDATED FROM CVC PROJECT BLOG
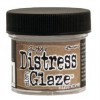
Hello it's Brenda here bringing you a tag using a tutorial I did on my blog a little while ago using the Tim Holtz Microglaze as a resist. To find it and maybe try it out press here.

The original tag looked like this before and after the microglaze treatment. It was a mop up tag taken from a box of leftovers I keep...

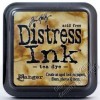
... and here it has been blended with distress inks after the microglaze had been applied through a stencil.

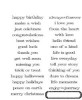
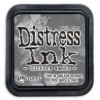
Before I made up the tag I added some very light text stamping using walnut stain distress ink.

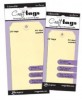
I gathered together the elements I thought would go with the design in my head ...

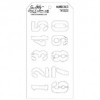
... but you will see I added a couple more when completing it. This is the tiny punched bird from Tim Holtz's range of new punches ....

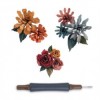
... and this is one of the tiny tattered flowers.

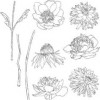
I painted and cut out the flower and stem using the flower garden set of stamps....

... and you can see the resist background, the number stencil worked really well.

Do you think I am moving to autumn mode already? Looks like it to me but I guess it won't be long.

Have a wonderful weekend and let us know if you try out the microglaze resist technique.
hugs Brenda xxx