Monday 31 March 2014

Tim’s tags for March

By the skin of my teeth I have finished my tags to link to Tim Holtz 12 tags of 2014 – March edition.
P1160792
Tim demonstrates his smudge stamping technique, creating two gorgeous collaged and layered tags that look so different with the bold and faint designs. Although I have followed the same steps to create mine, I added something a little different at the beginning. My large set of these gorgeous bird stamps still haven't arrived but I do have the Nature Walk set with the smaller versions, so I cut down two size 8 tags and then did this step first.
P1160784
I stamped the large bird (without legs) onto the card first……
P1160785
…… masked him off using Post-It notes.
P1160787
… and then carried on with the steps Tim shows us.
P1160788
I don’t have the spritzing tool yet so I masked and blended my inks, covered the rest of the image up and spritzed with a home made DI spray.
P1160791
Love these vintage Spring tags this month.

Hope you had a lovely Mother’s day in the UK and have a great week ahead. I am getting really excited as I am teaching a full weekend of workshops in Wales next Saturday and Sunday, I am so looking forward to it.

Take care.

hugs Brenda xx

Sunday 30 March 2014

A Special Day

It’s an extra special day today -
HAPPY BIRTHDAY CHRISSIE
P1160752
I have again used the wonderful wallflower paper stash and as Chris loves birds this was the ideal piece which I cut to fit an 8 x 8 card.
P1160722
I gathered some products together ……
P1160723
… and thought about embellishments.
P1160726
I used some lettuce alcohol ink on the enamelled tag and the remnant rubs over the top. A bit fiddly but they stand out so well and are so easy to use. I stretched three different tissue tapes across to give me something to hang the tag from.
P1160733
I altered the number 7 by dabbing it with antique linen distress paint and when it was dry I again used remnant rubs.
P1160739
I made this little focal point by die cutting the TH ticket from coredinations and running it through the lattice embossing folder, sanding and then inking over the high points with walnut stain and adding some more remnant rubs. I die cut the ticket in greyboard also and adhered the two pieces together. The TH mini bird frame was also die cut in coredinations and grey board with the paper one sanded and inked and both stuck together too. The little bird charm had a number of alterations but I settled on some silver alcohol ink and then I made up a TH heart charm, shabbied it with distress paint and attached with chain and jump rings. The jute ribbon added further texture.
P1160740
In the bottom left corner I used some film strip filling three of the spaces with little eggs from the paper stash and leaving two empty to show the numbers through from beneath. I added some tissue tape and the happy birthday banner, Chris’s name and a flower made from acrylic packaging and alcohol inks.
P1160742
It went in the post Thursday, so I hope it has arrived.
P1160751

Happy Mother’s day to all Mum’s in the UK, that’s another reason why it is a special day today.

Take care.

hugs {brenda} x0x

Friday 28 March 2014

Dare to Dream – Wallflower card for CVC

I have a selection of cards coming up for you over the next few weeks at Country View Crafts updates blog using the fabulous Wallflower paper stash from Tim Holtz. I just love the designs and can’t stop using them (unusual for me as normally I want to stroke them and put them away – but I think I am learning to use things NOW because there is always something new coming along  lol).
P1160415
This is card with more details and photos can be seen over at Country View Crafts Updates blog.

This card uses one of the Wallflower 12 x 12 pages which has four designs on it.
Other products include -
movers and shapers ticket die
movers and shapers mini rabbit and ribbon die
Stamps – simple sayings
Sizzix weathered clock die with peeled paint distress embossing powder
Sizzix  Alterations tapered fringe strip die
Distress inks – mowed lawn, scattered straw, walnut stain
Silver corner given patina effect with mowed lawn, broken china and forest moss distress paint then aquamarine treasure gold over the top.
Flowers from my supplies

Maybe you might find time to take a quick look over at Country View Crafts, but if not don’t worry I really appreciate your time stopping by here.

Have a great weekend.

hugs brenda xx

Wednesday 26 March 2014

I am guesting at PaperArtsy tonight

Post updated 10th April 2014 to add more detail.


Hi everyone, I have a guest spot at PaperArtsy today and I decided to share my love of collage and making an extended tag. Those of you who have visited before are likely to have seen other ones I have made in the past
P1160313_thumb[1]
I outline 6 key design features that I focus on when making a collage and I hope to come back with some more at another time. My tag started with the gorgeous flower from the Hop Picks set HP111.

You can read more details about how the project came together over on the PaperArtsy blog and you’ll see other photos that show some of the steps.

I would love it if you could join me over there.

Thanks for stopping by and have a great evening (if you are in the UK).

hugs Brenda

P1160312a
I have 6 key design factors that I focus on and the decisions I made for this tag-
Theme – Botanical – flowers, nature, warm summer days.
Colour – browns, pinks and greens
Background – textured and layered.
Focal Point – Large stamp – flowering bloom, very dominant.
Collage Elements – border, sentiment/words, stamp - kept to the rule of 3
Composition – simple, vertical flow, unity of parts.

I have kept this tag with a basic design just to show you my starting points.
P1160310
I started with just one key image which I knew would be the focal point and provide me with a botanical theme and feelings of warm lazy days of summer. My colour palette I decided would be brown, pink and green for the foliage. I stamped using plum archival ink and then set about colouring this gorgeous bloom. For this I love to mix products to create tones and shades of colour and here I have mixed Rose Fresco Finish paint and Aged Mahogany distress inks for the bloom and  Hey Pesto, Guacamole and Stone for the stem and leaves. I cut out the image, edged it with walnut stain to make it look more vintagey and stamped over the green areas. The last step was to cover it with satin glaze which makes the light shine differently on it, a provides a subtle contrast to the background.

P1160298
P1160300P1160304

I then prepared the tag, first covering the card with tissue wrap, drying it off and sanding the edges. With blending foam I layered over chocolate pudding, london fog and nougat Fresco Finish paints and again dried it. Over this I dabbed nougat and snowflake to lighten it and dried and then dabbed over rose mixed with aged mahogany to get some fabulous pinky tones. When this layer was dry I took a babywipe and knocked back some very small areas so that you can see the tissue wrap and lower colours come through, this really helps to create some depth and further interest.
P1160305
Finally I used the harlequin stamp and snowflake paint to start to bring in some light pattern and over that I stamped these small numbers using black archival ink. This creates a great multi-layered background and is a fabulous contrast to the large and quite imposing bloom.
P1160324
To finish I distressed and inked the edges of the tag and gathered just three collage elements (2 butterflies and 1 quote) to add to the design and keep the composition simple. Strategically placed to create a vertical layout where the eyes are kept within the tag up and down the flower and back to the gorgeous flower head. The paper at the bottom ‘grounds’ the focal image so that it doesn’t look as though it is floating in mid air and I purposefully placed the other two at different intervals to create more interest.
P1160315
To finish and make this into an extended tag I used the new Chatsworth papers and cut a rectangle 9 x 19 cms, cut the top to be a tag shape and distressed and inked the edges. This gives me additional space at the bottom to add a sentiment, quote or more collage details and I used the lovely Lin Brown quote and another butterfly which helps the eyes move back up the project again.
P1160322
Stamps I have used are
Ink and the Dog – Letters 5
Hot Picks – HP111
Eclectica – ESN07
Eclectica – ELB01

Monday 24 March 2014

Destination Inspiration at A Vintage Journey

It is my turn to write the DI post at AVJ today and my idea came from a workshop I did recently at my local craft shop. It was a gelli plate beginners class and we were experimenting with acrylic paints and ways of creating texture. The group were well away having fun which left me a bit redundant for a while when suddenly I wondered if you could use distress inks?
So the idea for this DI post was born.

Gelli Distress

P1160604P1160621P1160624

I ended up experimenting with distress inks, distress stains and distress paints.
I would love it if you popped over to A Vintage Journey to see all the fun designs I made, but be warned you might want to make a cuppa first as there are loads of photos.

Have a wonderful week. I hope you get to have some time with your crafty supplies.

hugs {brenda} x0x


Details from the AVJ post

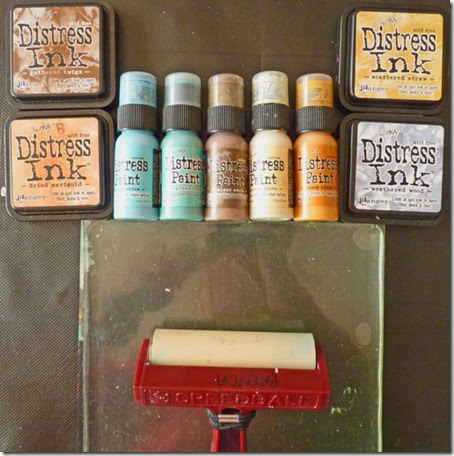
Here’s my starting point.
P1160580

P1160578
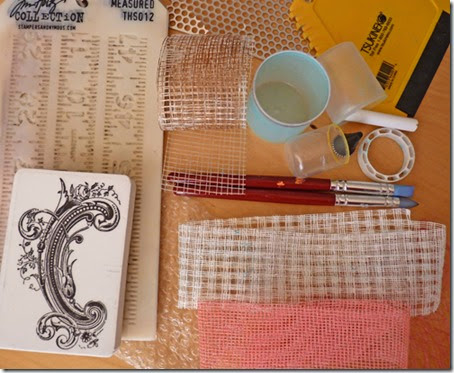
I collected together everything I thought I would need (but still had to pop off and get other bits during the session – but I guess that’s because our brains will go off in different directions).
P1160581
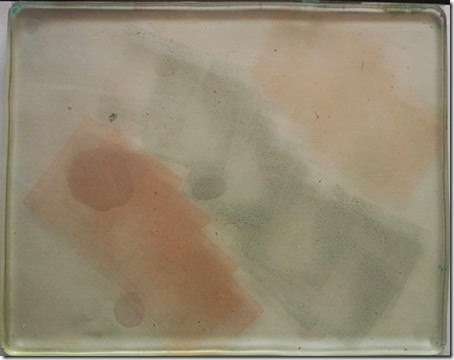
Trying to keep things fairly simple I thought I would keep to a routine of media on gelli plate and here we have got weathered wood, rusty hinge and dried marigold distress inks (DI), dabbed on directly using the ink pads and then rollered over.
P1160583
Press in something to create texture (and remember don’t use anything sharp as it will leave a lasting impression on your plate that you won’t be able to get rid of).
Place paper/substrate over (I used cheap copy paper for these experiments) and I rubbed with my hands to take the first generation mono print.
P1160584
I always roller off the inks/paints etc. onto another piece of paper and used these in the printing process.
So we have achieved a simple print.
P1160586
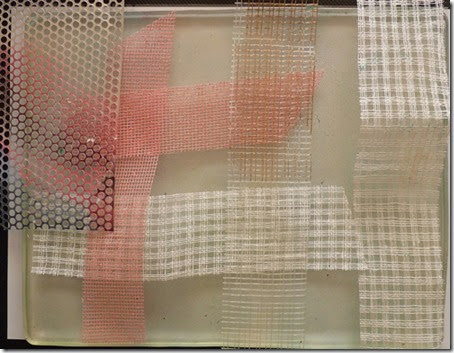
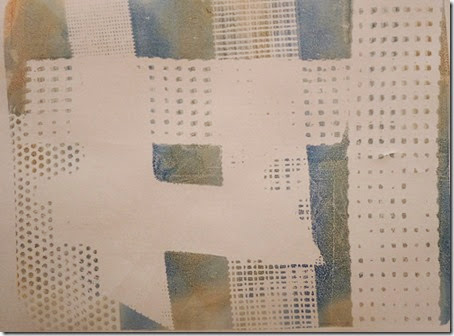
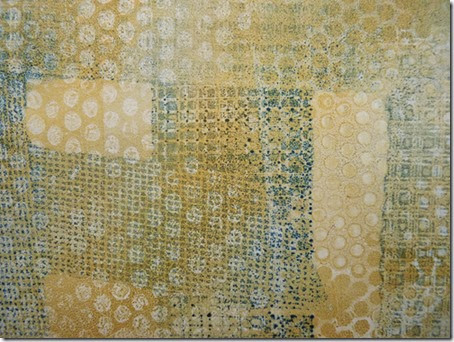
Next I added textured ribbons, DIY dry wall tape and punchinella on the inked plate and placed a sheet of paper over all of it and rubbed …..
P1160587
…. but what it produced was far to regimented for me and not what I was looking for.
P1160590
However for the next print (when I had removed all the ribbons etc.) I used the previous mono print to add another layer to it and I began to see possibilities.
P1160592
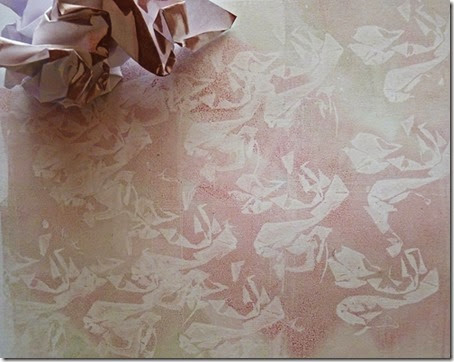
I played with other things to create texture like crumpled paper …….
P1160594
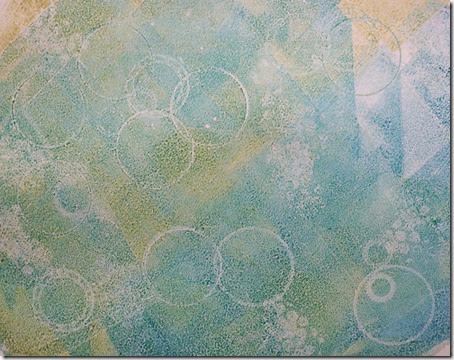
……. and bottle tops with peacock feathers and shabby shutters distress inks. You can see the potential for great journal pages here.
P1160618
I started to play with masks pulling a print over the top of the mask (using one of the new ones that has not long been released)  ….
P1160619
…… then the mono print after the mask had revealed what was underneath and I began to envisage these with DIs blended through other masks over the top.
P1160621
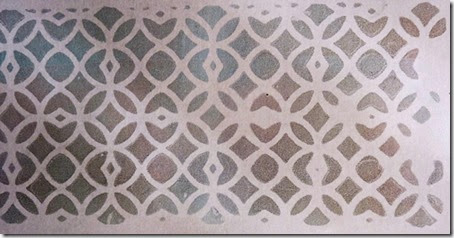
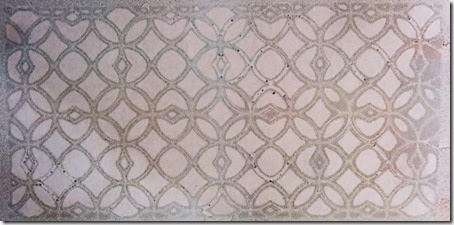
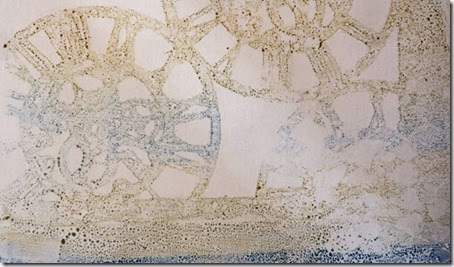
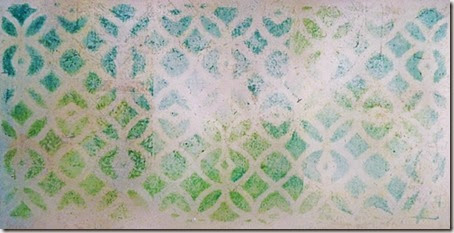
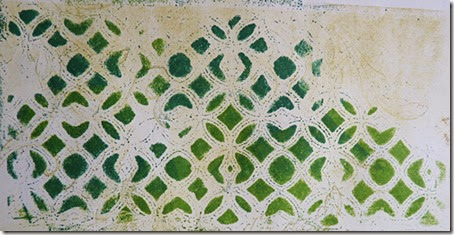
This is the latticework mask used with tumbled glass and pumice stone – again the print taken over the mask ….
P1160622
…. and mask removed.
P1160623
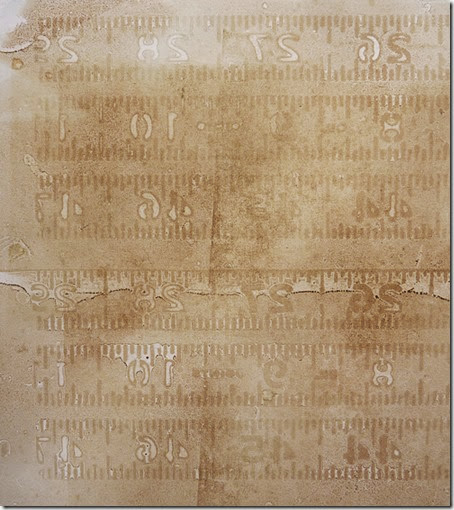
I learned a lesson here, I kept the mask up the right way only to find the numbers ended up the wrong way when I had finished.
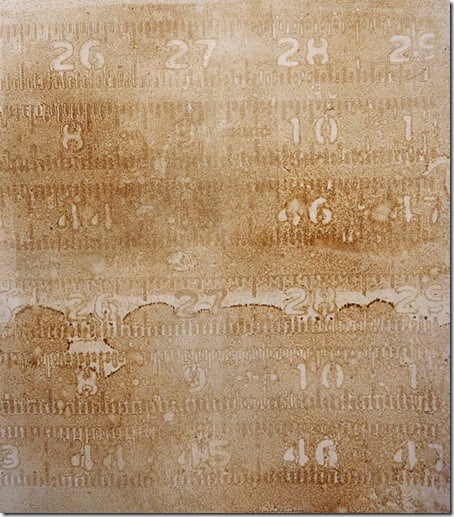
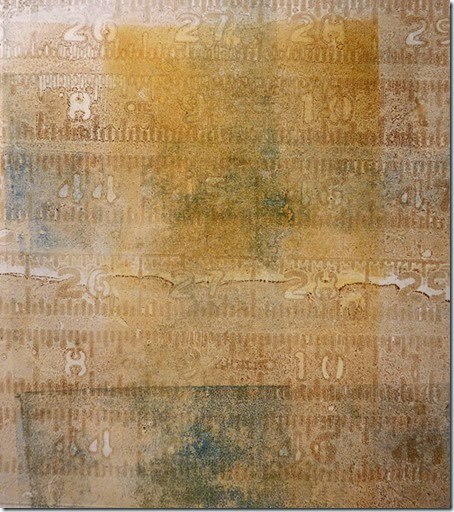
P1160624
So I had to do it again and flipped the mask over  (I am lucky to have two of the ruler masks, I had bought one last year and then got given one on the Tim Holtz retailer training I did last year – so lucky).
P1160625
This was printed over a rollered piece of paper.
P1160628
P1160629
I also dallied awhile playing with distress stains, but they proved to be too watery really.
Back to distress inks -
P1160611
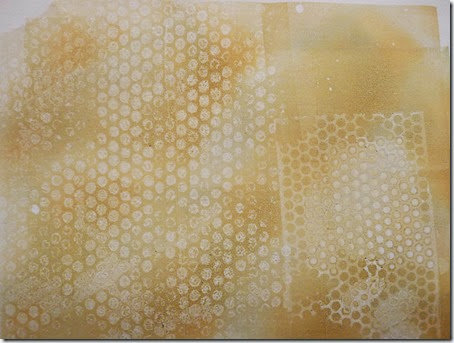
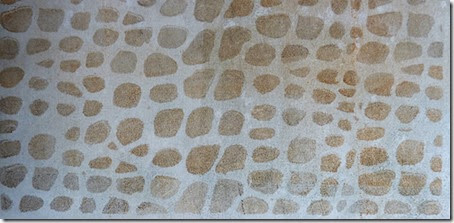
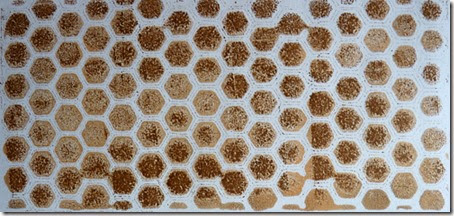
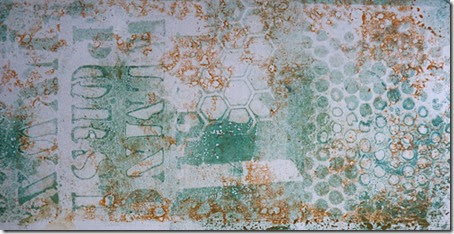
I rollered the background with distress inks, placed the mask over and then added some walnut stain distress stain through the honeycomb and pulled a print.
P1160612
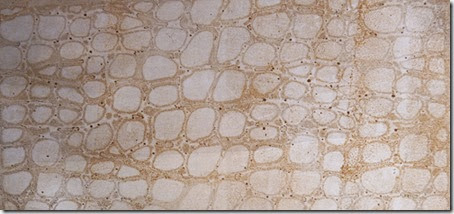
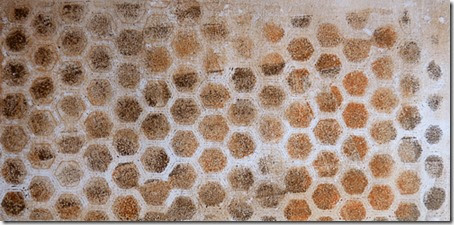
Before I removed the mask I dabbed walnut stain DI pad over the honeycomb and took another print, this time I used walnut stain and rusty hinge together.
P1160613
Now I removed the mask and laid over the rollered off paper …..
P1160614
…. and finally I placed the inky mask over a previous experiment so you have two layers of masks showing.

I decided to have a play with distress paints too, I had been playing for a while, not wiping the paint off between prints and decided to just roller antique linen over the plate which still had lots of bits of colour on (sorry no photo, got carried away with what I was doing) -
P1160607
Here the print was pulled through the mask and the greeny colours have been pulled from previous layers ….
P1160608
and here the mask was removed and the mono print taken which pulled some greens and rusty hinge DPs.
P1160610
One last painty print where I had been playing with the splatter mask and used rusty hinge DP, I just rollered the back of the inky mask onto paper and for the second layered print I used broken china and evergreen bough DPs with the cargo, honeycomb and bubble masks imprinted into it.
When I thought I had finished for the day I found I had three rollered backgrounds I could use so I grabbed the latticework mask -
P1160605
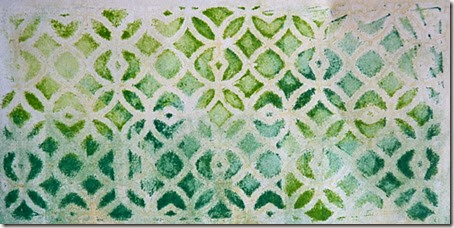
Here the background is evergreen bough and antique linen rollered off then mowed lawn and pine needles distress ink pads pressed over the mask -
P1160602
There was still enough ink left on the gelli plate so I laid another piece of paper over and got a much lighter second generation print over an iced spruce background.
P1160604
Lastly I pressed the same green pads over once again and laid a piece of spare paper that had been rollered off and had stamping over it too. You see I just can’t stop can I?????

Some of these pieces I like just as they are but others I can see being used with blended inks and masks. Next time I am going to go directly onto card so I can die cut my tags and create immediate backgrounds.
I am still something of a beginner myself to the gelli plate but I had great fun, I hope I have inspired you to play with the distress products and see what you can create too.